

One of the biggest issues living off grid is usually water and power. If you are near a lake or setup rain barrels then you are set for water. Now your dilemma is power. The most popular way is solar power, which is actually becoming more popular all over, not just with living off grid. Solar power is great, but you need one thing – batteries to store the power. The most common way to get batteries is to recondition old batteries.
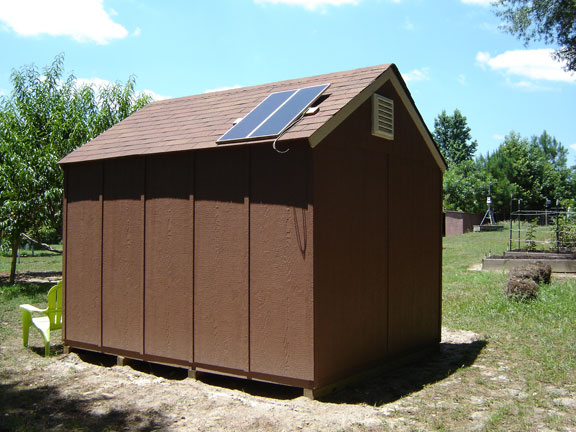
I wanted to add power to my shed, which was on the back of my property. I was looking at running power a few hundred feet, which should be simple enough, but a bit costly. I was also planning on adding more gardens in my yard and possible a small pond for some aquaponic gardening, so I didn’t want to run underground wires. Solar power seemed to be my best choice.
If you are familiar with solar power, you know that one of the biggest expenses to the system is the battery bank. Building a large battery bank can cost a small fortune unless you can find some used batteries to help reduce the cost.
I haven’t found a goldmine in my yard yet, so I opted to get some used golf cart batteries. I live in Florida so finding a golf course with some used batteries lying around was pretty easy. I setup my battery bank with the used batteries which worked awesome.


Fast-forward a few months after getting my solar power system working in my shed, I noticed the batteries weren’t holding much charge anymore. So I took to the Google to find out how to recondition old batteries.
There are a lot of idiots out there trying to give “good” advice. Sadly I followed some of this “good” advice and destroyed a bunch of batteries through trial and error. At this point I was out a half dozen batteries, a few pairs of jeans, and had no power in my shed again.
How to Recondition Old Batteries:
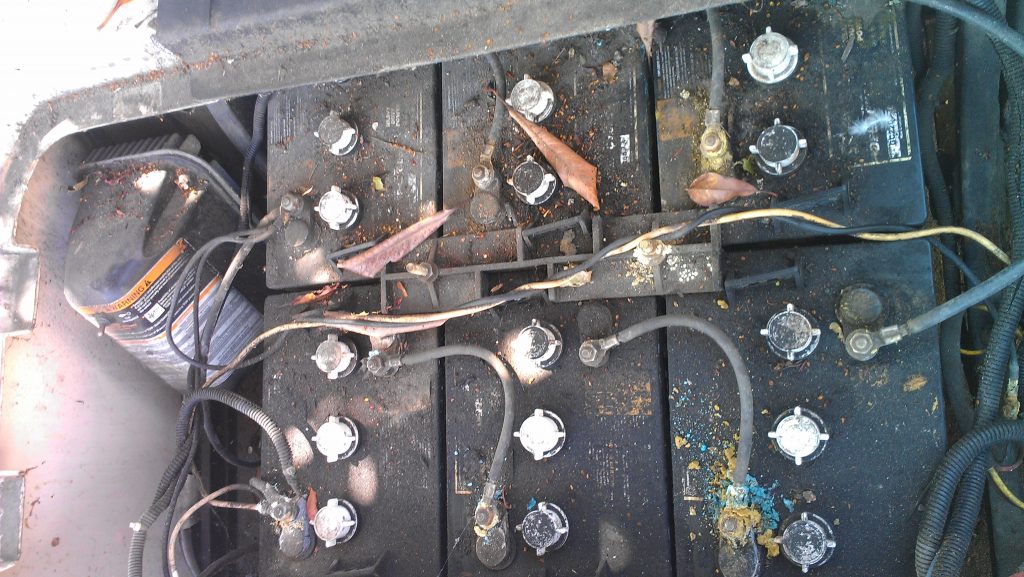
1. Cleaning and Inspecting the Battery
Golf cart owners should remove the battery, which is usually located beneath the seat, from the golf cart so they can inspect the battery and begin the refurbishment process. The first step is to clean the battery terminals if corroded. Individuals should use gloves and safety goggles so they do not get any of these harmful chemicals on their hands or in their mouth. A solution of two tablespoons of baking soda in a quart of water is an effective way to remove the corrosion on the terminals. Individuals can brush this solution on with a toothbrush, paintbrush, or other small brush. Once the user removes the corrosion, he or she should repeat this process with plain water to rinse away the baking soda. At this time, individuals should also inspect the battery for cracks or leaking battery acid.

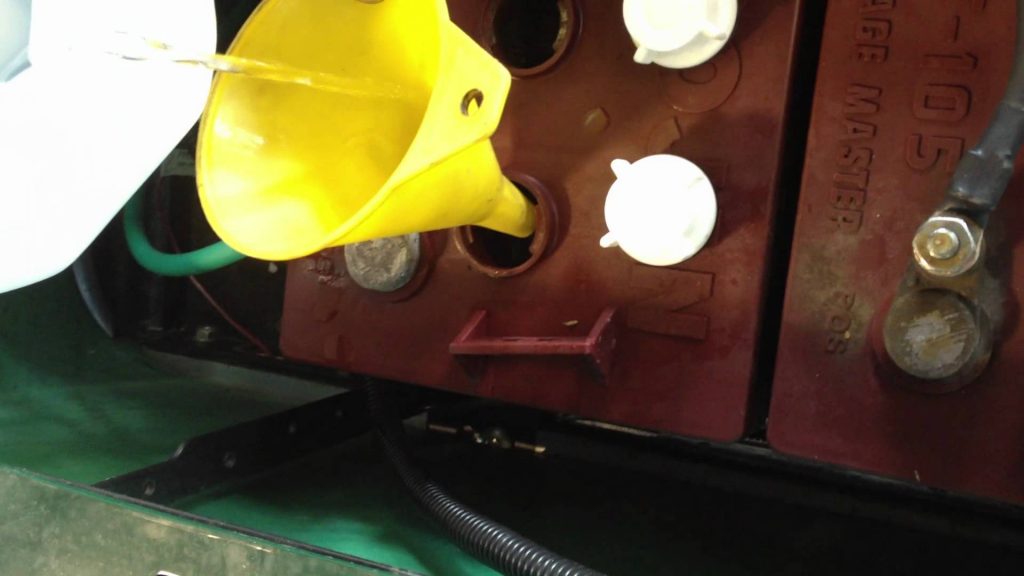
2. Refilling the Battery Cells
The next step involves opening the covers on all of the battery cells. Individuals may need to use a flathead screwdriver to help them lift the caps off. Use a turkey baster to top off all cells with distilled water, as needed. Using distilled water is essential as tap water or spring water may contain minerals or contaminates that could damage the battery and potentially shorten its life. Individuals should be sure that the distilled water covers all of the plates inside the battery cells before moving on to step three.

3. Charge Overnight
Once the user has topped off the cells with distilled water, individuals should connect the battery charger and leave the golf cart battery charging overnight. In the morning, golf cart owners should check the charge. If the battery took a full charge, then they can disconnect the charger and use the golf cart as they regularly would. If the battery did not take a full charge, individuals should proceed to step four.


4. Recharge Battery Cells
At this point, individuals need either the golf cart refurbishment liquid or the Epsom salt solution. To make the solution, individuals should mix 8 oz. of Epsom salt in 2 quarts of warm distilled water and stir until dissolved. Golf cart owners need to remove about half of the water in each battery cell with a turkey baster and refill the cells with the Epsom salt solution or the premixed liquid they purchased. Once the user has replaced the battery cell caps, the individual should shake the battery to mix up the Epsom salt and then charge overnight.


5. Check the Charge
Golf cart owners should check their cart battery’s charge the following morning to see if it held a full charge. If it did, then the refurbishment was successful and no additional steps are necessary. If the battery held a partial charge, individuals may want to repeat steps four and five one or two more times to see if they can improve the battery charge. If this process does not work, the lead plates may not be able to hold a charge and golf cart owners may need to invest in a new battery.


Now those are some general steps, but there are a lot of nuances to reconditioning a battery that those steps are missing.
I eventually came across a post by Tom Ericson, who was describing my exact situation with using golf cart batteries for solar power. I ended up signing up for his battery reconditioning course to recondition my old batteries. It worked amazingly. I was really surprised how easy he made the process and what little work it was to get these batteries holding a charge like they were new.


I now have my solar powered shed working great, and the reconditioned old batteries are holding an awesome charge!