

Beat the heat with this solar powered air cooler! This “Blast Chiller” air cooler is great for home, the workplace, and especially great when camping. More importantly, this DIY project won’t break the bank. Check this out.
How It Works
Solar powered air conditioning is not a new concept. For this particular solar powered air cooler, it works by threading cold water through the bucket, before being cooled the window screen and dissipated by the fan. It’s a simple yet highly effective concept, and one that you can do yourself.
Why Should I Do This?
Living off the grid has many advantages, but a lot of disadvantages as well. One of the things you’ll have to contend with, especially if you live more in the southern parts, is really hot summers. Add the fact that temperatures are rising every year, and you’ll find that you’ll be sweating like a pig at the butcher’s.
While you can definitely fork out the cash for a solar air conditioner, you can save some money by making one yourself.
Benefits of A Solar Powered Air Cooler
When the temperature goes up in your safehouse, this might lead to discomfort, dehydration, and even death. Having a solar air conditioner such as this one can spell the difference between comfort and… well, potentially deadly discomfort. Having one of these babies in your safehouse will make SHTF situations a lot more bearable.
How To DIY Your Solar Powered Air Cooler
Materials you’ll need:
5 gallon bucket Window screen, black plastic (minimum 24” X 76”) Fan (computer fans work great) Cooling pad, or filter material 1/4″ Aquarium tubing Clamp Fountain pump Push pin Solar panel (optional)
Tools:
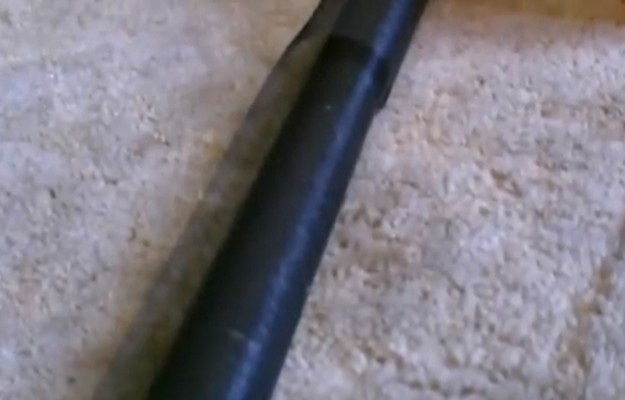
Yardstick 1 – 2” hole saw Marker Razor tool 1.

First, start by filling the bucket with two gallons of water.
2.

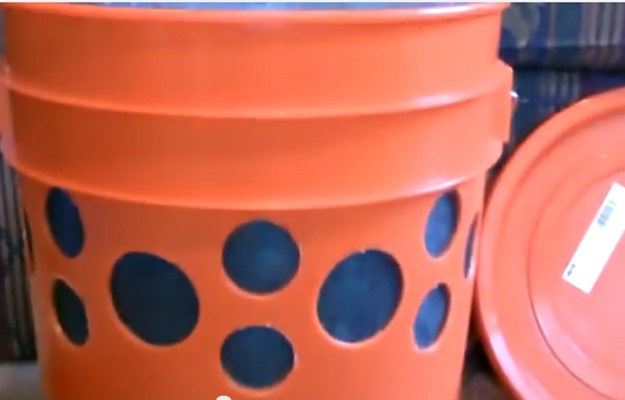
Next, cut circular holes around the bucket, making sure they are all well above the water line. Then, vertically drill a pair of two holes, spacing each pair every 5-6 inches. These holes should be roughly 1.5 inches in diameter.
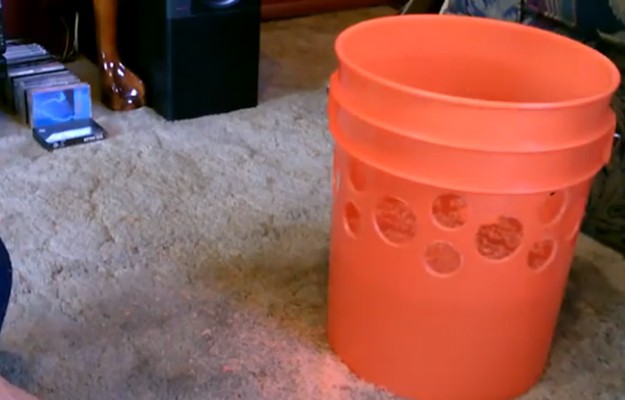
Between these pairs, drill a single hole, 2 inches in diameter.
3.
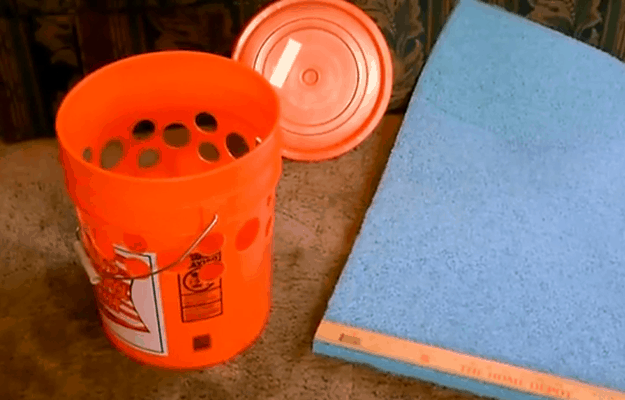
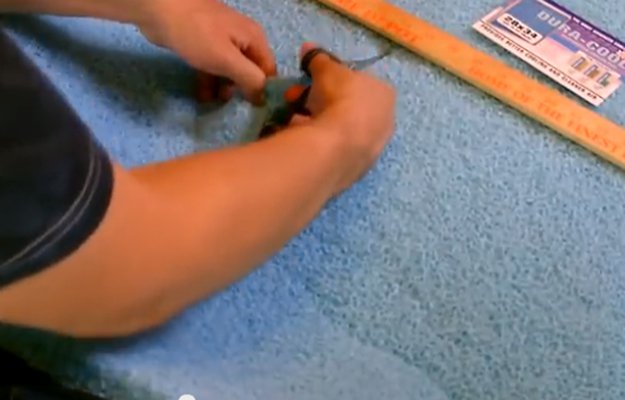
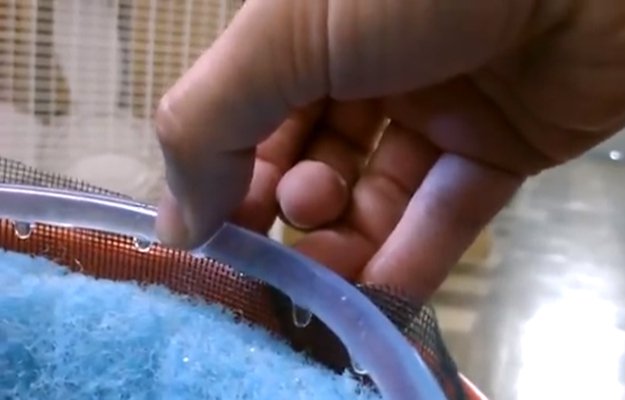
Next, you need to cut down the cooling pad. You will want it to be about 13-14 inches high, and roughly 30-31 inches around. This is roughly the measurement of the bucket.

4.
After that, take a regular window screen and double layer between the bucket and the cooling pad. You may also use garden cloth.
This will help hold in the moisture of the cooling pad away from direct contact with the air holes.
5.
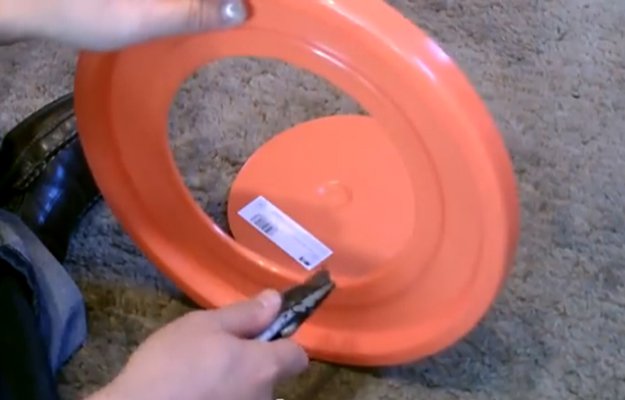
Next, trace the circular edge of the fan on top of the lid and cut.
6.
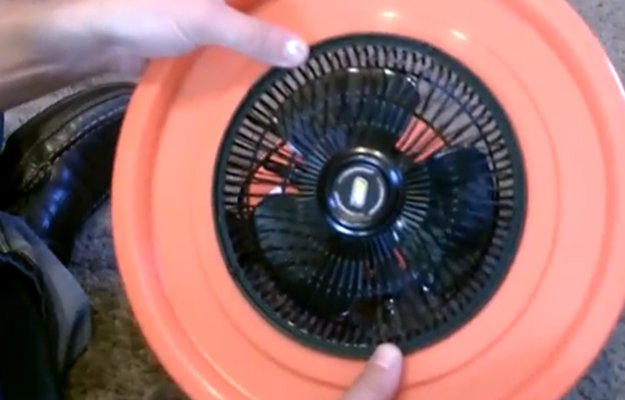
After that’s done, place the fan in the hole. It should fit nicely in your solar powered air cooler without falling through.
7.
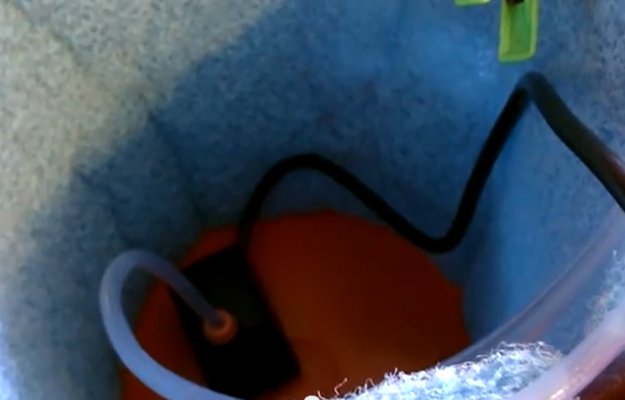
Next, drop the fountain pump in the bottom and connect the 1/4 inch aquarium tubing.

Then, wrap the tubing around the bucket, and once again at top of the bucket. Clamp off the end of the hose to keep the water from escaping.
8.
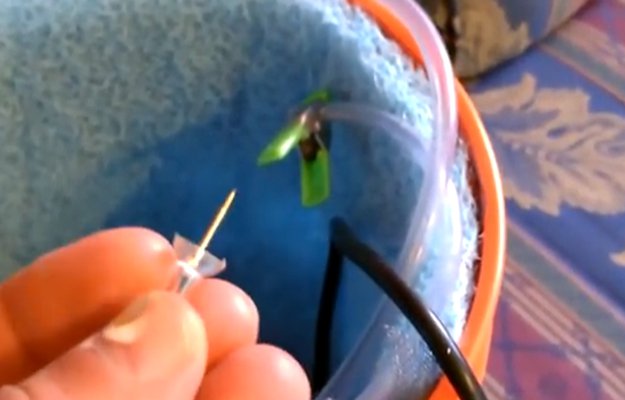
To turn this into a soaker hose, pin along the length of the hose, about every inch around the diameter of the hose.
This will saturate the cooling pad.
9.
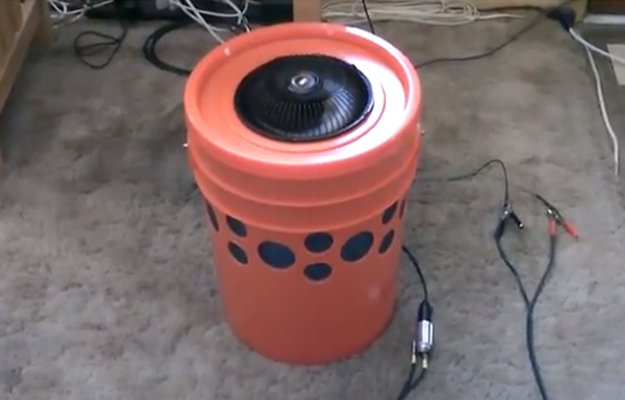
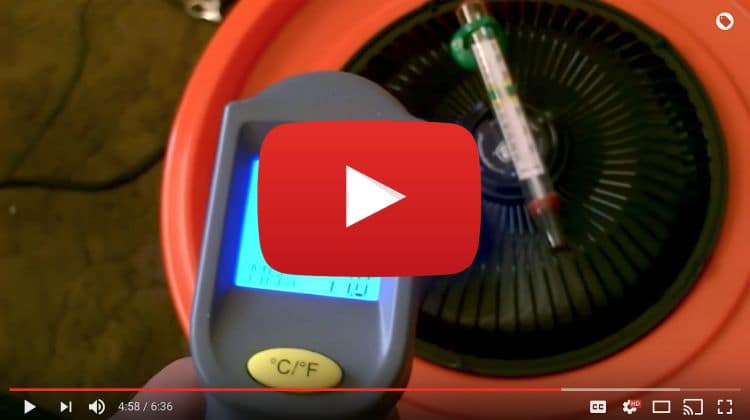
Finally, hook up the fan to the solar panel, and you are set!

Your solar powered air cooler should get between 65-40 degrees, depending on how cold the water is. Add ice if you want cooler air.
Optional:
If you are going camping, you can also add a 90 degree piece of PVC and dryer vent hose to isolate the air.
Check out the video tutorial to discover how to make your own solar powered air cooler:

Having a solar air conditioner such as this one can make your safehouse – and in effect, your whole experience – a lot more bearable. Not only is it convenient to have, it doesn’t even have to be powered from the grid. It takes very little resources to make, and is easy enough that you can teach even the youngest members of your family on how to maintain it. That said, we hope to see your own homemade solar powered air conditioners soon!
Post a video of your projects in the comments section!
Read more: survivallife.com